Introduction
So what are Logic Mods? It's a modding system originally invented for Unreal Mod Loader (UML), where the mod loader would look for any .pak mods in Paks/LogicMods directory, assuming the following conditions were met:
- The .pak file name must match the mod folder name you had in Unreal Editor before packaging the mod.
- The .pak mod needed to contain a
ModActorasset.
Development for UML eventually ceased and UE4SS became the new popular tool for modding Unreal Engine games and UE4SS adopted the Logic Mods system from Unreal Mod Loader (with permission of course).
You might've seen some .pak mods that end with a _P. These are not the same thing as Logic Mods and are referred to as patch paks which you can read more about in this article.
If you're creating Logic Mods for UE4SS, never include _P at the end. The _P suffix should be reserved for patch paks only. The reason for this is that they're both installed in different folders and will make troubleshooting mod issues very difficult later due to not knowing what's actually a Logic Mod and which is a patch pak.
Requirements
-
Basic Understanding of Unreal Editor - This is important, because otherwise you will be very confused. This knowledge is valuable and extends to any Unreal Engine game. Just because you're modding doesn't mean it's not relevant. There are a ton of free videos available on YouTube for getting started with using Unreal Editor.
Setup
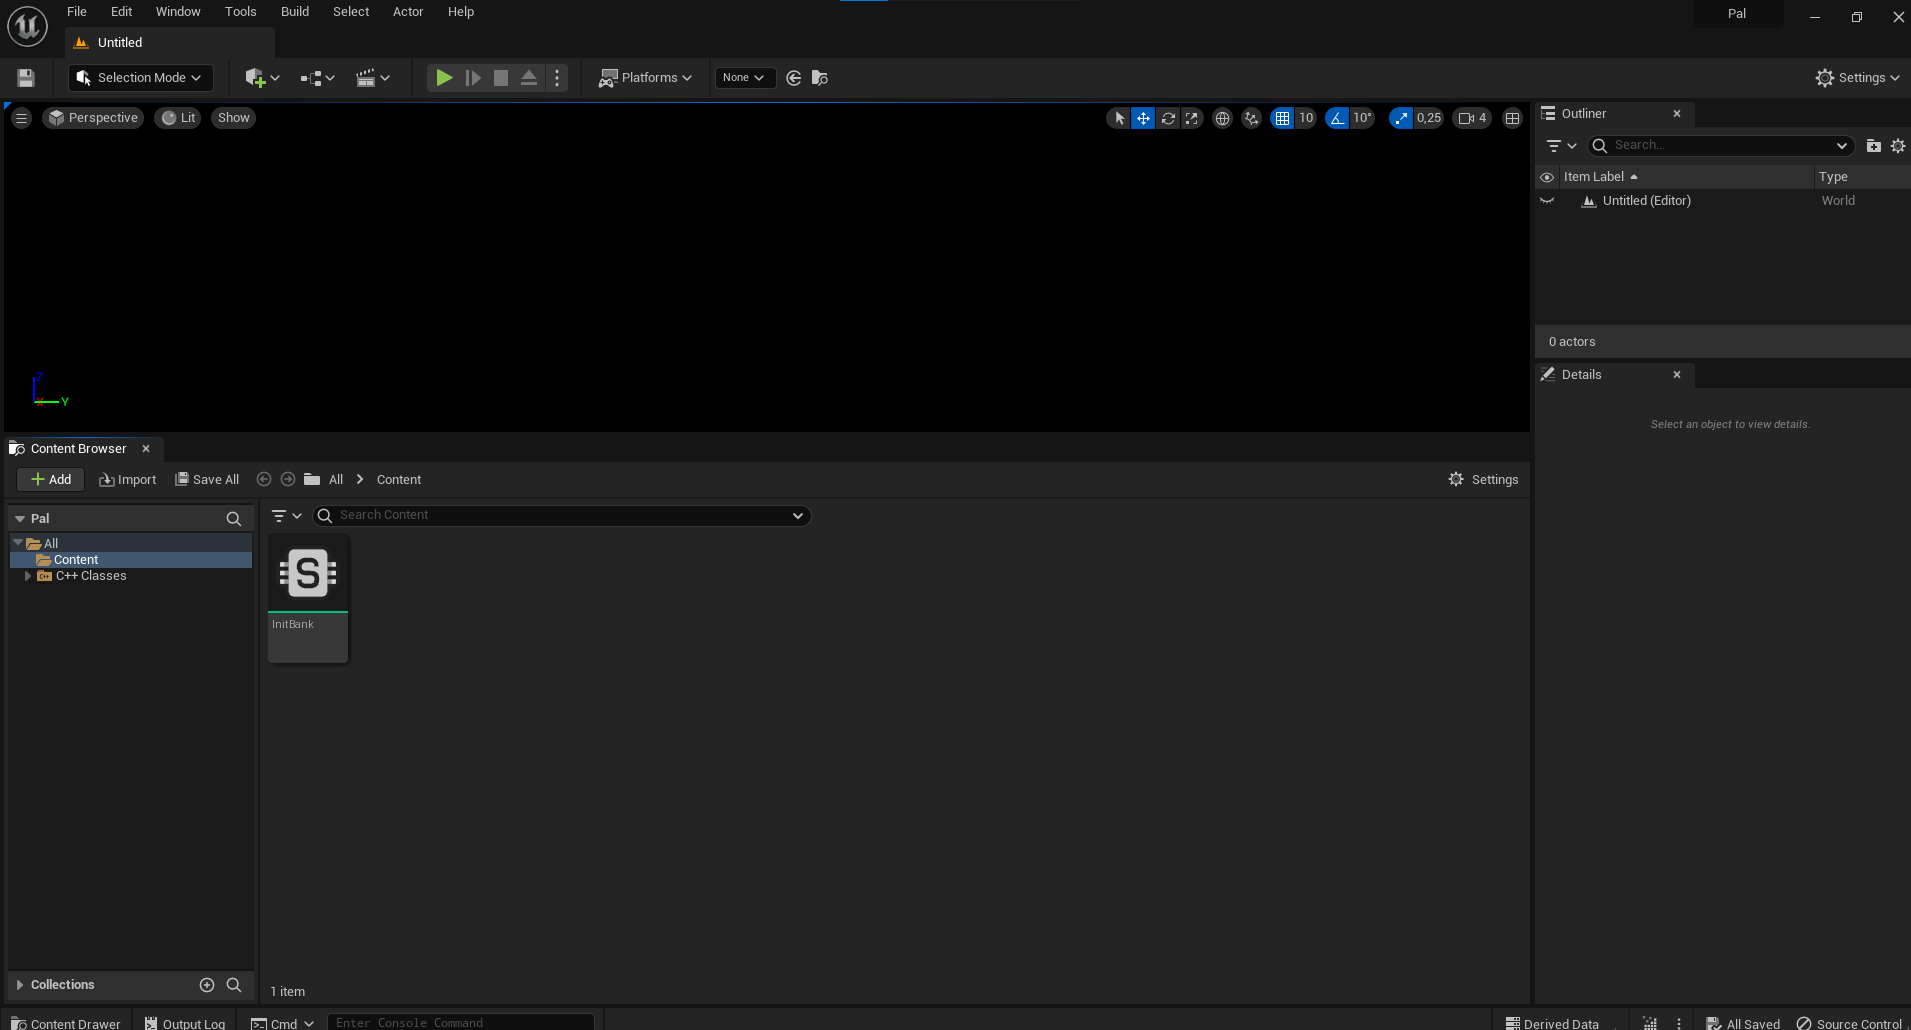
- Assuming you've finished setting up your Palworld Modding Kit (PMK), open up the
Pal.uproject. Once the Editor is open, you should see something like the image below.
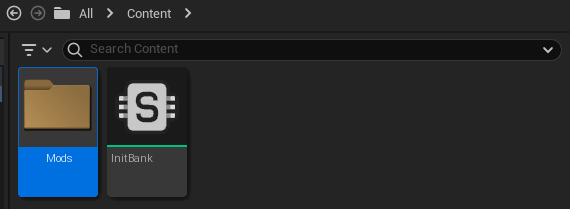
- In the
Content Browser, create a new folder calledModsin which all of our Logic Mods will go.
- Navigate inside the
Modsfolder and create another folder calledMyFirstMod. This will be our mod that we'll be working on. You can also opt to use a name other thanMyFirstMod.

- Next, we want to create a new
Blueprint Classwith a Parent Class ofActor, which we'll callModActor. This makes UE4SS see our mod as a LogicMod.
- Open the
ModActorwe just created and navigate to theEvent Graphtab.
If you don't see an Event Graph tab and instead you see the text "NOTE: This is a data only blueprint, so only the default values are shown...", Click on the blue Open Full Blueprint Editor text at the end.

UE4SS Events
Before we continue, we'll look into a variety of different events that UE4SS provides for our Logic Mods. To use these, simply create a new custom event in your Event Graph. Below is a list of all UE4SS events.
PrintToModLoader
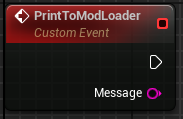
PrintToModLoader is useful for printing various messages to the UE4SS Console window which you can enable in the UE4SS-Settings.ini file by setting ConsoleEnabled = 1 under [Debug] section.
To use PrintToModLoader, add a new Custom Event in your Event Graph and call it PrintToModLoader with a String parameter called Message.
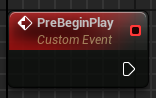
PreBeginPlay
PreBeginPlay is called when the ModActor is spawned. You'll typically never want to use this since it's called way too early for you to be able to make use of it.
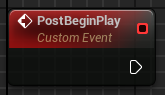
PostBeginPlay
PostBeginPlay is called when the PlayerController's BeginPlay is called. You're generally better off just using the standard BeginPlay.
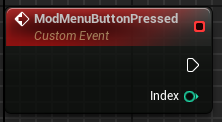
ModMenuButtonPressed
ModMenuButtonPressed is used to read button presses from UE4SS GUI Console's BP Mods tab, assuming you added any buttons to your mod via the ModButtons variable in your ModActor. Mod Buttons will be its own tutorial, since there's a lot to it.
ModActor Variables

ModAuthor, ModDescription and ModVersion are all String variables and they're used to display information about your mod in the BP Mods tab of the GUI Console.
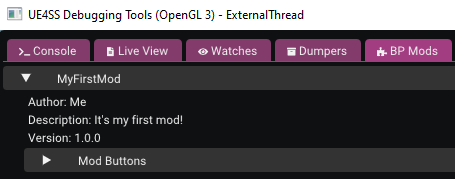
ModButtons is an Array of Strings which can be used to create buttons that interact with your mod in the BP Mods tab.
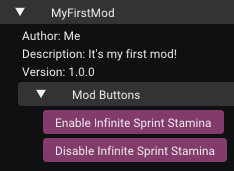
Generally ModButtons is not used at all and it is preferred to use Widgets or something else to create an in-game interface since the end user shouldn't be enabling UE4SS GUI Console due to loss of performance.
I think this pretty much covers all of the utilities provided by UE4SS. We can now return back to where we were!
Implementing Logic
We now have a ModActor, but it's a little empty. Let's add some functionality to our mod.
-
If you still have
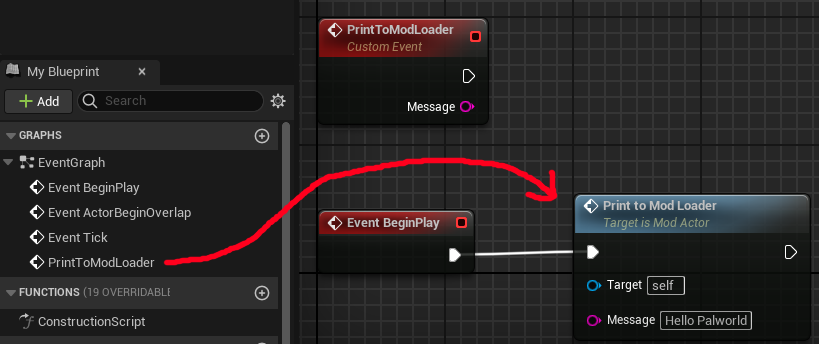
Event Graphopen for yourModActor, create aPrintToModLoaderevent. -
Under the Graphs category, you should see your
PrintToModLoaderevent, drag it to our Event Graph and connectBeginPlayto it. You can set Message to whatever you want. Now when theModActorspawns in, it'll print whatever message you chose to the UE4SS Console.
-
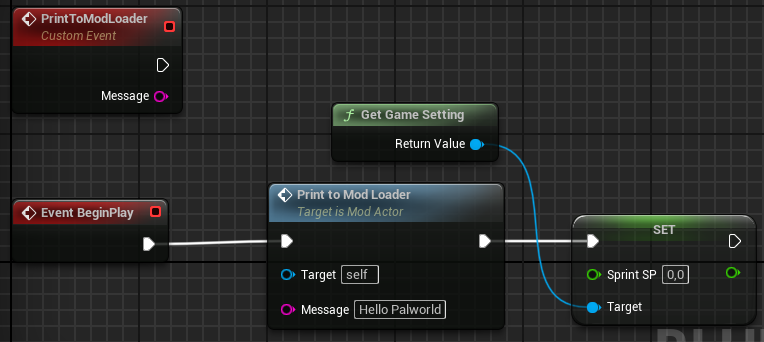
Of course, printing just a message would be boring, so let's do something more interesting. Right-click anywhere on the Graph and in the Search Box, type
Get Game Settingand click on the Highlighted entry. You now have a reference to the Game Setting object which contains many gameplay altering variables. -
Inside the
Get Game Settingblock, you'll see an empty blue socket. Hover over it and start dragging from it and release anywhere on an empty spot on the Graph. A context menu will open. -
Scroll to the bottom where it says
Variables. Expand it and it'll reveal another category calledPal Game Setting. Expand that as well and now you have a bunch of game variables you can experiment with. -
In the Search Box, type
Set Sprint SPand click on it.Sprint SPis the rate at which the player's stamina is used when sprinting. Having it at 0.0 for example would make it so that you can sprint infinitely. -
You should now have a
Set Sprint SPnode on your Event Graph. Connect it to ourPrintToModLoadernode and your Event Graph should look like the image below.
We're done, now all that's left is to package our mod and install it.
Packaging
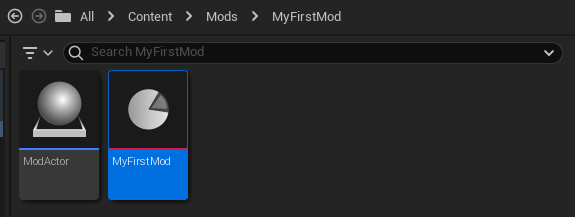
- Inside our
MyFirstModfolder, we'll want to create aPrimaryAssetLabelasset, which you can find inMiscellaneous > Data Assetwhich will open another window where you can search forPrimaryAssetLabel. Once you find it, select it and name it whatever you want. For this tutorial, we'll call itMyFirstMod.
- Open the
PrimaryAssetLabelwe just created and make sure you have the following values in it:

- Chunk ID: 1
- Cook Rule: Always Cook
- Label Assets in My Directory: Checked
For this tutorial, we'll assume this is our only mod, but if you create more mods in the future, make sure the Chunk ID is unique for each mod you create and make sure you never set it to 0 as this is reserved for the game itself.
Example: MyFirstMod is assigned to Chunk ID of 1, you create another mod called MySecondMod, you'd want to assign a Chunk ID of 2 to it. Otherwise the two mods get combined and you may get weird effects if you're running both mods in your game.
-
Save the
PrimaryAssetLabeland close the Asset window. -
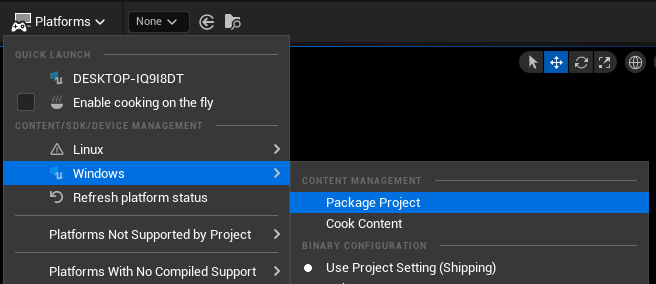
Now all that's left is to package our project which you can do by going over to the
Platformsbutton and then navigating throughWindows > Package Project. A window will open in which you can just hitSelect Folderand it'll begin the packaging process. This might take a while if it's your first time.
- After the Editor has finished packaging, you'll want to open the root of your Palworld Modding Kit folder outside the Unreal Editor and navigate through
Windows > Pal > Content > Paksand you should seepakchunk0-Windows.pakandpakchunk1-Windows.pak.

pakchunk0-Windows.pak is the game's own content and anything above 0 is our custom mods. In this case, we're looking for pakchunk1-Windows.pak.
-
Copy
pakchunk1-Windows.pakand let's navigate to Palworld's root directory. I'll teach you a trick for finding it quickly if you're not sure how to get there. -
Open up Steam and go to your Library. You'll want to right-click on Palworld and then select
Properties. In the window that just opened, go to theInstalled Filestab and click on theBrowse...button. This will immediately take you to Palworld's root directory. -
Next, navigate to
Pal > Content > Paksand create aLogicModsfolder if you don't already have one. -
If you still have
pakchunk1-Windows.pakcopied in your clipboard, paste it inside theLogicModsfolder we just created. -
If you remember, we called our mod's folder
MyFirstModin the Editor. You'll want to make sure you rename the file frompakchunk1-Windows.paktoMyFirstMod.pakor otherwise UE4SS will error out and print something likeClass for ModActor was invalid.
That's it! Load up a save, try running around and you should be able to sprint infinitely. If you have console enabled, you should be able to see your chosen message printed by PrintToModLoader. It'll also show up in UE4SS.log.